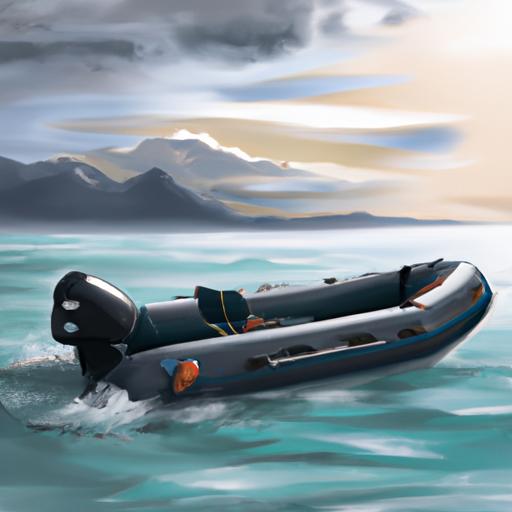
Going out on the water is a great way to spend the day, but if you’re taking an inflatable boat, you’ll want to make sure it’s properly inflated before you take it out.
Inflating an inflatable boat may seem like a daunting task, but it doesn’t have to be! In this easy guide, we’ll walk you through the steps of how to inflate an inflatable boat, from gathering the equipment you’ll need to checking the pressure gauge.
Keep reading to learn more!
Table of Contents
Short Answer
In order to inflate an inflatable boat, you will need an air pump.
Once you have the air pump, attach the nozzle of the pump to the valve of the boat and begin pumping air into the boat.
Make sure the valve is securely attached to the boat and that all connections are properly sealed.
When the boat is fully inflated, inspect the seams and patch any holes or tears that may be present.
The Equipment You’ll Need
Inflating an inflatable boat is an easy and straightforward process, but there are certain tools and pieces of equipment you’ll need in order to make sure it’s done correctly.
At the very least, you’ll need an air pump, a hose, and the inflatable boat itself.
The air pump should have a pressure gauge, which will help you keep track of the air pressure in the boat and make sure you don’t over-inflate it.
Additionally, you may also want to have a valve cap handy in case you need to secure the valve after you’re done inflating the boat.
Once you have all of the necessary equipment, you can begin the process of inflating your inflatable boat.
Attaching the Hose to the Air Pump

When inflating an inflatable boat, the first step is to attach the hose to the air pump.
This is a relatively straightforward process, but it’s important to make sure the hose is firmly connected to the pump so that air can be effectively pumped into the boat.
Begin by finding the air valve on the pump, which will be located near the pump’s handle.
Then, take the hose and attach one end to the air valve on the pump, making sure it is securely connected.
Once the hose is firmly attached, you can move on to the next step of inflating the boat.
Connecting the Hose to the Boat’s Air Valve
Inflating an inflatable boat is a relatively straightforward process that can be completed with just a few simple steps. The first and arguably most important step is connecting the hose to the boat’s air valve. This is done by first attaching one end of the hose to the air pump. Then, the other end of the hose needs to be securely attached to the boat’s air valve. There are two types of air valves: the standard Boston valve and the Halkey-Roberts valve. For the Boston valve, the hose should be attached to the cap and screwed in securely. For the Halkey-Roberts valve, the hose should be attached directly to the valve body and not the cap. It is important to make sure the valve is secure and the hose is firmly connected so that no air escapes. This will ensure that the boat inflates evenly and quickly.
Pumping Air into the Boat

When it comes to inflating an inflatable boat, the process is relatively simple and can be done in just a few steps with the right equipment.
The first step is to attach a hose to an air pump, and then attach the other end to the boat’s air valve.
It is important to make sure that the valve is secure and the hose is firmly connected.
Once the hose is connected, you can start to pump air into the boat, keeping an eye on the pressure gauge on the pump to ensure you don’t over-inflate the boat.
The pressure gauge will indicate when the desired pressure has been reached, at which point you can disconnect the hose from the valve and secure the valve cap.
That’s all that’s required – after a few minutes of pumping, your inflatable boat will be ready to use!
Checking the Pressure Gauge
Checking the pressure gauge is a crucial step when inflating an inflatable boat.
The pressure gauge will tell you how much air is in the boat and when it is time to stop pumping.
It is important to keep an eye on the gauge so that you do not over-inflate the boat, which can cause it to burst.
When the desired pressure is reached, you can disconnect the hose from the valve.
It is important to choose a quality pressure gauge for your inflatable boat.
Make sure it is accurate and designed to measure the pressure of the air in the boat.
It should also be easy to read and clearly indicate when the desired pressure is reached.
This will help to ensure that your boat is inflated properly and safely.
When checking the pressure gauge, make sure to take into account the temperature and altitude.
This is because temperature and altitude can affect the pressure of the air inside the boat.
If you are inflating the boat at a high altitude, for example, you may need to increase the pressure to compensate for the thinner air.
Finally, make sure to periodically check the pressure gauge even after the boat is inflated.
This is because the pressure of the air in the boat can fluctuate due to changes in temperature and altitude.
If the pressure is too low, you may need to add more air to the boat.
Checking the pressure gauge regularly will help to ensure that your boat is always properly inflated and ready for use.
Disconnecting the Hose

Once the desired pressure is reached, its time to disconnect the hose from the valve and secure the valve cap.
This simple step is an important one, as it ensures the air pressure remains constant and the boat stays inflated.
To do this, twist the hose counter-clockwise to loosen the connection, then pull the hose away from the valve.
If youve used a hose with a quick connect valve, push down the release lever and pull the hose away.
If youve used a hose with a threaded connection, unscrew the connection by twisting clockwise.
Once the hose is disconnected, make sure to secure the valve cap tightly to the valve, as this will prevent any air from escaping.
Thats all there is to it – your inflatable boat is now ready to use!
Securing the Valve Cap
Once the desired pressure is reached, it is important to properly secure the valve cap to ensure the boat remains properly inflated.
This is done by pressing the valve cap firmly onto the valve and twisting it clockwise until it is secure.
It is important to make sure the valve cap is not over-tightened, as this can cause damage to the valve and the boat itself.
Many inflatable boats have a safety valve that will automatically release excess air if the pressure becomes too high, so it is not necessary to over-tighten the valve cap.
Once the valve cap is securely in place, your inflatable boat is now ready to use!
Final Thoughts
Inflating an inflatable boat is a straightforward process that doesn’t require any special tools or skills.
Armed with the right equipment and this guide, you now have the confidence and knowledge to easily and quickly inflate your boat before your next adventure.
So why wait? Grab your pump, hose, and boat and get started today!