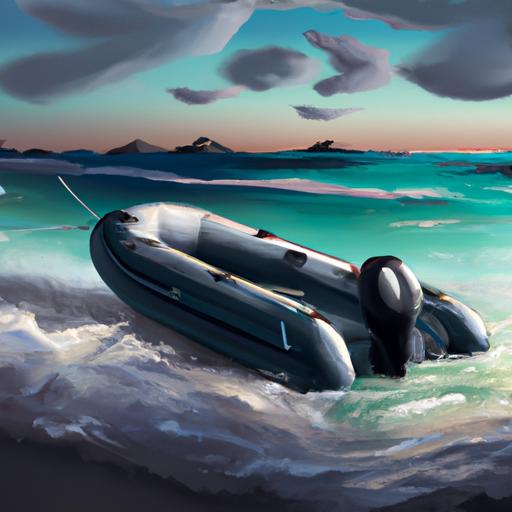
Inflatable boats are a great way to explore the outdoors, offering convenience and durability.
But even the toughest inflatable boats can suffer from leaks which can put a damper on your adventures.
Dont lose hope! In this article, well go over how to repair an inflatable boat leak with simple tools and materials.
Well cover the benefits of inflatable boats, the tools and materials youll need, how to locate the source of the leak, and the best way to patch it.
Well also discuss alternatives to patching and how to test for leak repair performance for long-lasting durability.
Lets get started!
Table of Contents
Short Answer
Inflatable boat leaks can usually be repaired with a patch kit.
Start by cleaning the area around the leak, then apply a piece of PVC patch from the kit and press firmly.
If necessary, use a heat gun to help the patch stick.
Finally, use a coat of adhesive sealant to ensure the patch is secure.
If the leak is too large or difficult to patch, it may be necessary to replace the boat’s fabric.
Benefits of Inflatable Boats
Inflatable boats offer a variety of benefits for outdoor enthusiasts.
They are lightweight, easy to transport, and provide a much more affordable option than traditional boats.
In addition, they are incredibly versatile, with many different models offering features such as a canopy, motor mount, and even a trolling motor.
They are also much easier to maneuver and store than heavier, traditional boats.
Inflatable boats can be easily inflated and deflated, making them ideal for camping trips, fishing trips, and other outdoor activities.
Finally, they can provide hours of fun and relaxation for individuals and families alike.
Tools and Materials Needed

When repairing an inflatable boat leak, it is important to have the right tools and materials handy.
You will need a patch kit, rubber cement or adhesive, a knife or scissors, and a clean rag.
The patch kit should include patches of various sizes and shapes to cover any size of leak.
The rubber cement or adhesive is used to seal the leak and the knife or scissors is used to cut the patch to the right size.
The clean rag will be used to wipe away any excess glue or sealant.
Additionally, having a pump and an air compressor is very useful for testing the repair and ensuring that the leak has been successfully sealed.
Locating the Source of the Leak
Repairing an inflatable boat leak can be a tricky task, but with the right tools and some know-how, it can be done.
The first step to repair an inflatable boat leak is to locate the source of the leak.
This is important, as it will determine the type of repair that is needed.
The most common way to find the source of the leak is to inspect the boat while it is inflated.
Look for any visible tears, punctures, or damage that could be causing a leak.
If the leak is small, it may be necessary to use a soapy water solution to help pinpoint the source of the leak.
Simply pour the soapy water over the boat and look for bubbles that indicate a leak.
If the leak is coming from a seam, it may require different methods to find the source.
Using a process called dunking, the boat can be submerged in a tub of water to help find the source of the leak.
This method is a bit more labor-intensive, but it is an effective way to locate the source of the leak.
Once the source of the leak has been located, it is time to repair the area.
Depending on the type and size of the leak, different repair methods may be used.
If the leak is small and localized, a patch kit may be the best option.
If the leak is along a seam or larger in size, a rubber cement or adhesive may be the best option.
Patching the Leak

Once you have located the source of the leak, the next step is to patch it up.
This can be done with a patch kit, which will include the necessary materials and tools to get the job done.
The patch kit should include a patch material, such as a vinyl or rubber patch, and a patch adhesive.
First, clean the area around the leak with a damp cloth and then let it dry.
Next, apply the patch material by pressing it onto the area and smoothing it out with a roller or another flat surface.
This will help ensure that it adheres properly.
Once the patch material is in place, apply the patch adhesive.
This will help to create a strong bond between the patch material and the inflatable boat, and will help to keep the patch in place.
Allow the adhesive to dry completely before using the boat again.
If you find that a patch is not the best solution for repairing the leak, consider using a rubber cement or adhesive to seal the leak.
This is especially useful for larger leaks or areas that are difficult to patch.
When using a rubber cement or adhesive, make sure to follow the directions on the package to ensure that it is applied properly.
Finally, once the repair is complete, make sure to inspect the boat regularly to make sure that the leak has not returned.
With proper care and maintenance, inflatable boats can remain in great condition for many years.
Alternatives to Patching
In addition to patching an inflatable boat leak, there are several other options available for repairing a leak.
One option is to use a rubber cement or adhesive to seal the leak.
This type of repair can be effective in cases where the affected area is difficult to patch, or if the leak is located in an area that is hard to access.
Rubber cement or adhesive can also be used to reinforce a patch or to act as a preventative measure against future leaks.
However, it is important to keep in mind that these types of repairs are not as durable as a patch, so they should be inspected regularly to ensure that the leak has not returned.
Testing for Leak Repair Performance

Testing for leak repair performance is essential in order to ensure that the repair has been successful.
After the patch has been applied, or the rubber cement or adhesive has sealed the leak, it is important to check the area for any remaining issues before going out on the water.
In order to do this, it is best to fill the boat with water and give it time to sit.
This will help to determine whether the patch or sealant is holding.
If, after a few hours, the boat is still full of water, the repair has been successful and the boat is now ready to use.
If the boat is not holding water, additional patches or sealants may need to be applied.
Additionally, other areas of the boat may need to be inspected for potential leaks.
Tips for Prolonged Durability
Inflatable boats are a great way to enjoy time on the water, but they are not invincible.
In order to keep your inflatable boat in peak condition and prolong its life, there are a few tips you should keep in mind.
First, be sure to clean and inspect your boat regularly.
Cleaning removes dirt, debris, and any corrosive elements that can cause damage and wear.
Inspect the surface of the boat for any signs of wear or tear, and check for any potential leaks.
If you notice a leak, repair it as soon as possible to prevent further damage.
Second, use the proper materials when repairing or patching your inflatable boat.
Patch kits are designed specifically for inflatable boats, and using the wrong material can cause more harm than good.
Using a rubber cement or adhesive to seal a leak is often an effective solution.
Finally, store your inflatable boat in a safe, dry place when not in use.
This will help to prevent any additional damage from the elements and can help keep your boat in good condition for longer.
Additionally, make sure to keep your boat away from sharp objects such as rocks or sticks, as these can puncture the material and cause leaks.
By following these basic tips, you can help to keep your inflatable boat in great condition and ensure that it will last for many years to come.
With proper maintenance and care, you can enjoy your inflatable boat for years to come.
Final Thoughts
Inflatable boats are an affordable and convenient way to enjoy the water, but can easily become damaged if not regularly maintained.
Fortunately, repairing an inflatable boat leak is not difficult.
With the right tools and materials, you can patch the leak or use an adhesive to seal it.
Be sure to inspect the boat regularly to make sure the repair is holding up.
With proper care and maintenance, your inflatable boat can remain in great condition for many years.
So take the time to keep your boat in good condition and enjoy many years of fun on the water!